Check out our brand new website!
We’ve been busy preparing a brand new site for valuable readers just like you. 🙂
Here’s what you’ll see:
- Super clear and easy tutorials on composting—they have been further refined and broken down into simpler steps, so that no one’s left behind.
- The ease of finding what you need with our new search bar and pages featuring specific categories. Check out our FAQ page for example.
- You can also book us for workshops straight from our website. We’ve streamlined the booking process, so you can get all the information you need right at your fingertips.
- Finally, a free mailing list (whoopee!) that you can sign up for and be the first to get notified on new updates, tutorials, videos and more. Simply head over to one of our posts, such as this one, and sign up at the section that says “Join Our Mailing List”.
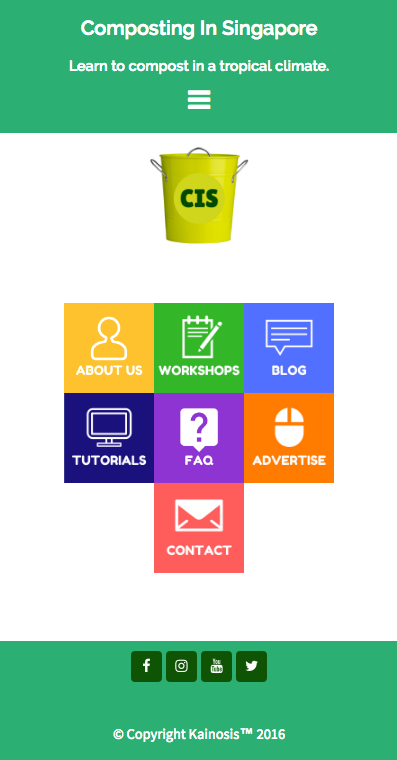
Of course, we’re really excited about the newer, cleaner interface that’s user-friendly as well.
And did we mention how our new site looks snappy on a mobile phone?
Do head on over and let us know what you think. We’d love to hear from you!

Seems like Mr Bean’s excited about our new site too 😉
